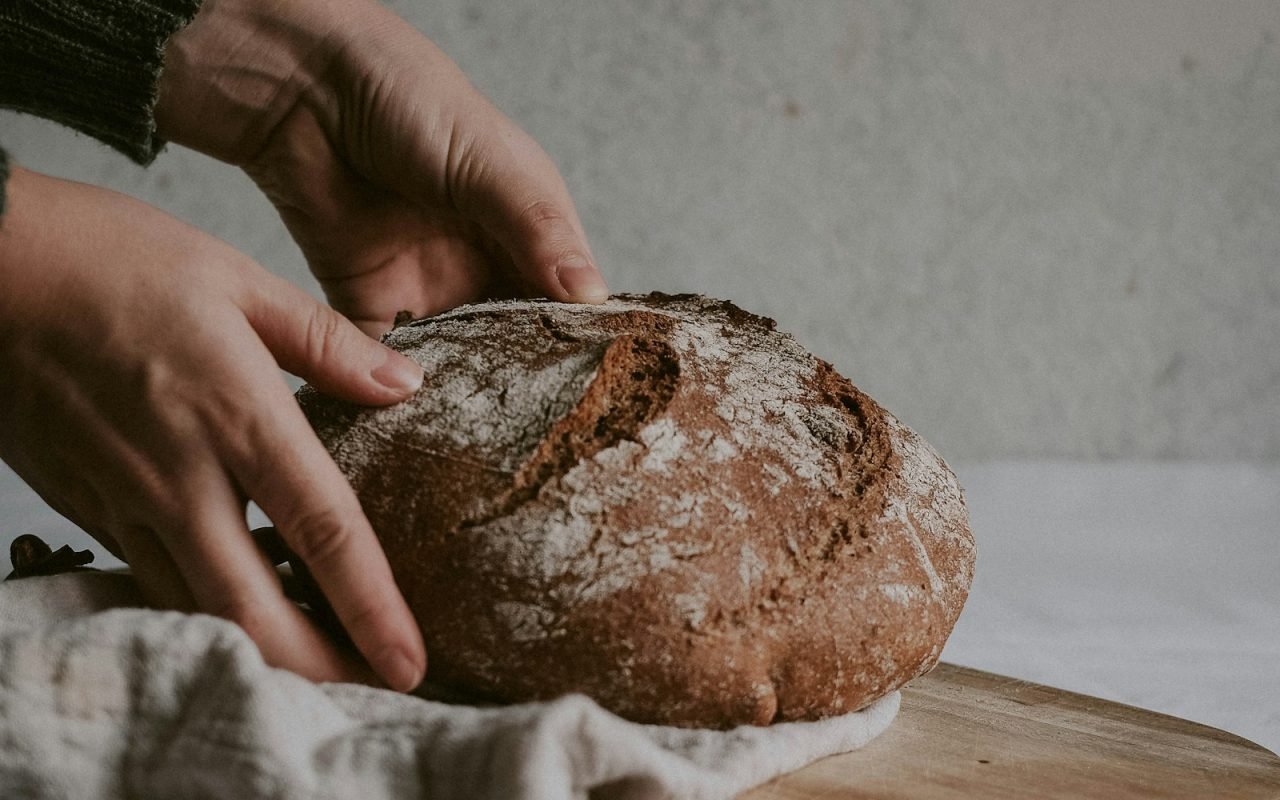
If you have been nervous about sourdough, start here. Time does almost all the work: four sets of folds, an overnight rest in the fridge and a very hot pot. There is no stand mixer, no kneading and no complicated schedule to memorize. You will touch the dough for maybe 20 minutes in total, and the next morning you will pull a crackly, deeply golden loaf out of your oven with an open crumb that looks like it came from a neighborhood bakery.
I baked my first sourdough loaf in a tiny apartment kitchen in Portland with a borrowed starter and a lot of anxiety. It came out flat and dense, and I almost quit. What finally worked was letting go of all the fussy steps I had read about and focusing on just a few things: an active starter, gentle folds and a long, cold rest. This recipe is the result of many loaves since, simplified for anyone baking their first.


Before you begin: your starter
A sourdough starter is simply flour and water that has been fermenting long enough to collect wild yeast and friendly bacteria. If you do not have one, ask a friend who bakes, check with a local bakery or start your own over about a week. Once you have it, keep it in the fridge and feed it with equal weights of flour and water.
The single most important thing for this recipe is that your starter is active. Feed it the night before or the morning you plan to mix, and use it when it has roughly doubled, smells pleasantly tangy and is full of bubbles. A quick test: drop a small spoonful into a glass of water. If it floats, you are ready to bake.
Why we use a scale
You will notice this recipe is written in grams. Bread flour can vary a lot from one scooped cup to the next, and small differences change how wet your dough feels. An inexpensive kitchen scale makes your results far more reliable. If you only have cups, 500 g of bread flour is about 4 cups, spooned and leveled, but your first loaf will be more predictable on a scale.
Ingredients
- 100 g active sourdough starter
- 375 g water
- 500 g bread flour
- 10 g salt
Use lukewarm water, around 80°F, if your kitchen is cool. Bread flour has more protein than all-purpose flour, which gives the loaf more structure and chew. You can swap up to 100 g of the bread flour for whole wheat flour once you are comfortable, for a nuttier taste.

How to make it
- Mix the starter and water, then add the flour and salt and stir into a shaggy dough.
- Every 30 minutes for 2 hours, stretch and fold the dough four times in the bowl.
- Let it rise until puffy, about 4 more hours, then shape into a ball.
- Place in a floured basket and refrigerate overnight.
- Bake in a preheated 475°F Dutch oven, 20 minutes covered and 25 uncovered.
The stretch and fold
This is the step that replaces kneading. With a wet hand, grab one side of the dough, stretch it up until you feel resistance and fold it over the middle. Turn the bowl a quarter turn and repeat until you have folded all four sides. That is one set. Cover the bowl and wait 30 minutes. After four sets, the shaggy, sticky mess will have turned smooth and stretchy, as if by magic.
Knowing when it has risen
The rise time depends on your kitchen. In a warm summer kitchen it might take three hours; in winter it could take six. Look for a dough that has grown by about half, has a domed top and shows a few bubbles on the surface and sides. Shaping is simple: tip it onto a lightly floured counter, fold the edges into the center and flip it over, then cup your hands around it and drag it toward you to tighten the surface.
Baking in a very hot pot
A heavy Dutch oven traps steam from the dough during the first part of baking, which lets the loaf spring up before the crust sets. Preheat the empty pot in the oven for a full 45 minutes. Turn the cold dough out onto a piece of parchment, slash the top with a sharp knife or razor and use the parchment as a sling to lower it in. Be careful: the pot is extremely hot, so use thick oven mitts.

Common beginner problems
Most first-loaf troubles come down to a few causes. Here is how to read what went wrong:
- Flat loaf that spreads: usually a sleepy starter or dough that rose too long. Try a shorter rise next time.
- Dense, gummy crumb: the dough may not have risen enough, or the loaf was sliced while still hot.
- Pale crust: bake longer uncovered, or make sure the oven and pot were fully preheated.
- Dough sticks to the basket: dust it generously with rice flour, which does not absorb moisture as quickly.
A sample baking schedule
The timing can look intimidating written out, so here is how it fits into a normal Saturday. Feed your starter around 8 a.m. and mix the dough at noon, once the starter is bubbly. Do your four sets of folds between noon and 2 p.m., in between errands or chores. Let the dough rise through the afternoon, shape it around 6 p.m. and slide it into the fridge before dinner. On Sunday morning, preheat the oven and pot at 8 a.m., bake at 8:45 and have warm bread cooling by 9:30. If that schedule does not suit you, the cold rest is flexible: the shaped loaf can stay in the fridge anywhere from 12 to about 36 hours.
A few small tools also make life easier, though none are strictly required. A bowl scraper helps you move sticky dough cleanly, a round proofing basket gives the loaf its shape, and an instant-read thermometer lets you check that the center of the bread has reached about 205°F before you take it out.
Keep notes on each loaf: room temperature, rise time and what it looked like. After three or four bakes, you will start to feel when the dough is ready instead of watching the clock.
Key takeaway: an active starter and a long, cold rest matter far more than any fancy technique.
Make it your own
Once the basic loaf feels easy, sourdough is a wonderful playground. Fold in a handful of toasted walnuts and dried cranberries during the last set of folds. Add chopped rosemary and a little black pepper. Swap a portion of the flour for rye for a darker, earthier flavor. Just change one thing at a time, so you learn what each change does.
And whatever you do, resist the urge to slice it right away. Our baking expert says this every time someone in a class reaches for the bread knife too early.
Let the loaf cool for a full hour before slicing — it is still cooking inside.
Baker Lena Morris
Store the loaf cut side down on a wooden board for a day or two, or slice and freeze it for toast all week. Then feed your starter and plan your next bake. The second loaf is always better than the first.