You can start streaming with the computer you already own. What makes a stream good is consistency, not expensive gear. That is the first thing every successful streamer we interviewed told us, and they said it almost word for word. The second thing they told us was that the first few months are quiet, sometimes painfully so, and the people who make it are the ones who keep showing up anyway. This guide covers the gear that matters, the settings that help a modest computer keep up, and the habits that turn a few curious viewers into a real community.
We talked with five streamers who broadcast several times a week, from a hobbyist in Ohio who plays farming games after work to a full-time creator in Austin with thousands of regular viewers. Their advice was refreshingly practical.
Sound first
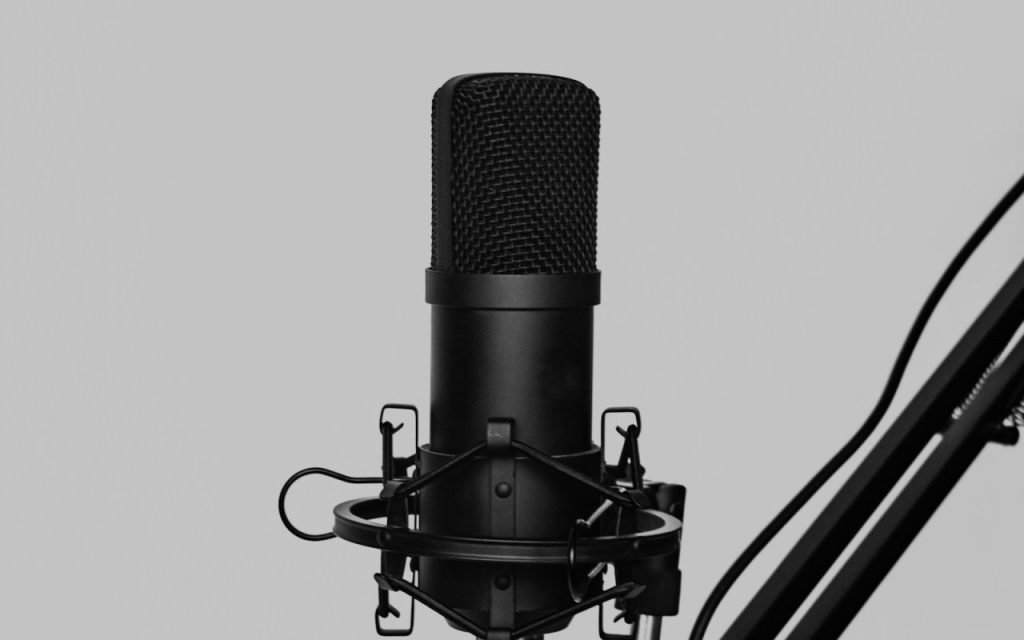
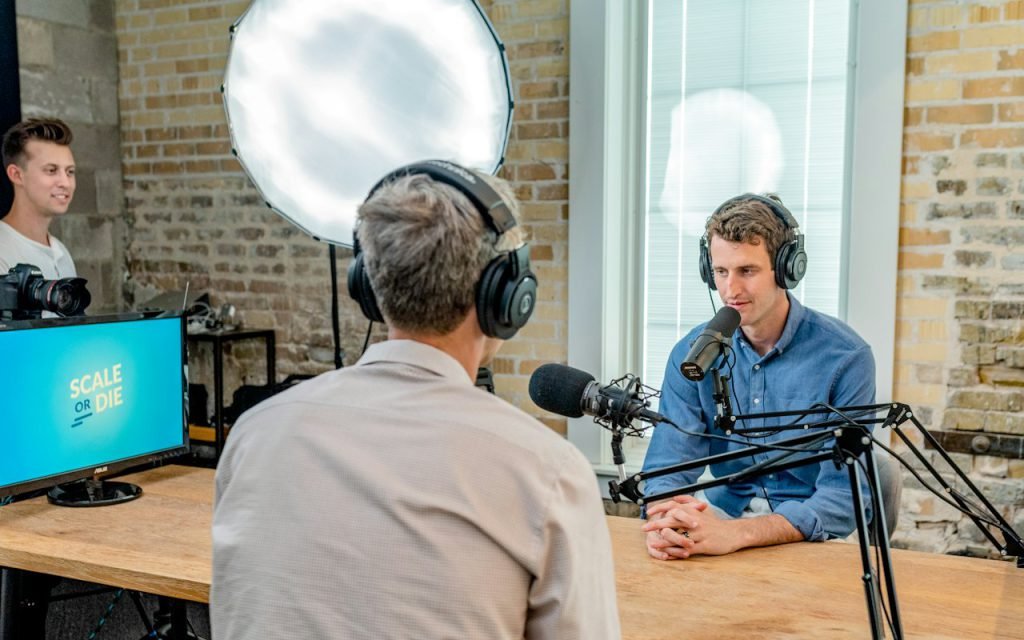
Viewers forgive a blurry camera but not bad audio. A $60 USB microphone is the best first upgrade. If people cannot hear you clearly, or if your voice is buried under game sound, they will click away within seconds. If your camera is a little soft, they will barely notice.

A few simple steps make a big difference:
- Get the mic close. Position the microphone about a hand’s width from your mouth. Closer placement means less room echo and less keyboard noise.
- Use a pop filter or foam cover. These cost a few dollars and stop harsh sounds when you say words with a hard “p” or “b”.
- Turn on noise suppression. Most free streaming software includes a noise suppression filter. Turn it on and set a gentle noise gate so your fan and air conditioner disappear.
- Balance your levels. Your voice should be clearly louder than the game. Ask a friend to watch a test stream and tell you honestly if they can hear you over the action.
The rest of the gear, in order
Once your audio is solid, everything else is an upgrade you can add when you are ready. Here is the order our streamers recommended.
- A webcam. A basic 1080p webcam in the $50 to $80 range is plenty. Many viewers like seeing your reactions, but a camera is optional, and plenty of popular streamers never use one.
- Lighting. A single soft light in front of you, slightly above eye level, will improve a cheap webcam more than buying an expensive one. A desk lamp with a lampshade can work in a pinch.
- A second monitor. Being able to see your chat without alt-tabbing out of the game is a quality-of-life upgrade that viewers notice, because you respond faster.
- A capture card. Only needed if you plan to stream from a console using your computer. Many consoles can also stream directly, which is a perfectly good way to start.
My first stream had two viewers. One was my mom. You start somewhere.
Tessa Grant, full-time streamer
Settings for a modest computer
Streaming asks your computer to run the game and encode video at the same time. If your setup is a few years old, these settings help it keep up without stuttering.
Resolution and frame rate
Start at 720p and 30 or 60 frames per second. That looks clean on most screens and asks far less of your computer and your internet connection than 1080p. Many viewers watch on phones, where the difference is small.
Bitrate
Bitrate controls how much data your stream sends each second. Run a free internet speed test and look at your upload speed. As a general rule, use no more than about half of your upload speed for the stream, so the game and chat still have room. For 720p, a moderate bitrate is usually enough. Your streaming platform’s help pages list recommended ranges.
Encoder
If your graphics card has a dedicated hardware encoder, use it. It handles the video work separately, so your game runs smoothly. Software encoding uses your processor and can slow games down on older machines.
Overlays and alerts
It is tempting to spend your first week designing animated overlays, follower alerts and fancy scene transitions. Keep it simple at the start. A clean webcam frame, your stream title and a small chat box are plenty. You can add polish later, once you know what your viewers actually enjoy. Busy overlays also cost computer power, which matters on an older machine.
Key takeaway: do a private test stream before you go live. Record ten minutes, watch it back, and fix the problems you hear before anyone else does.
Pick a schedule
Stream the same days at the same time. Regulars become your community. This was the advice our streamers repeated most often. Viewers build habits around the shows they enjoy, just like television. If you stream Tuesday and Thursday at 8 p.m. Eastern every week, people can plan around you. If you stream randomly, they forget you exist.
Start with a schedule you can actually keep. Two or three evenings a week is far better than streaming every day for a month and then burning out. Post your schedule on your channel page and share it on social media each week. If you have to cancel, tell your viewers ahead of time.
Think about what happens off stream as well. Short clips of your funniest or most impressive moments, shared on social media the next day, are one of the best ways for new people to find you. You do not need fancy editing. A thirty-second clip with a clear title is enough. Several of our streamers set aside one hour a week just for clips and schedule updates, and they said it paid off more than any gear purchase.
Length matters too. Most of the streamers we spoke with suggested sessions of at least two hours, because people find streams through browsing, and a longer session gives them more chances to discover you while you are live.
Building a community
Gear and settings get people in the door. What keeps them is you. Talk even when nobody is chatting, because new viewers often watch silently for a while before saying hello. Greet people by name when they do type something. Explain what you are doing in the game, why you made a choice and what you are thinking about next.
Choose games with care, too. Huge titles have huge audiences, but they also have thousands of streamers competing for attention. Smaller games, indie releases and older favorites can help you stand out and attract viewers who share your taste. Several of our streamers grew fastest after they found a niche they truly loved.
Finally, set boundaries. Use moderation tools from day one, block words you do not want in your chat, and ask a trusted friend to help moderate once you have a few regulars. Protect your privacy as well. Avoid showing your home address, your school or anything personal on camera.
The bottom line
Starting a stream is easier and cheaper than ever. Spend your first dollars on a good USB microphone, set your software to 720p, and pick a schedule you can stick with for months, not weeks. Expect a slow start, enjoy the handful of people who show up, and treat every one of them like a friend. Tessa Grant started with two viewers, and one of them was her mom. Everyone starts somewhere, and the best time to start is your next free evening.