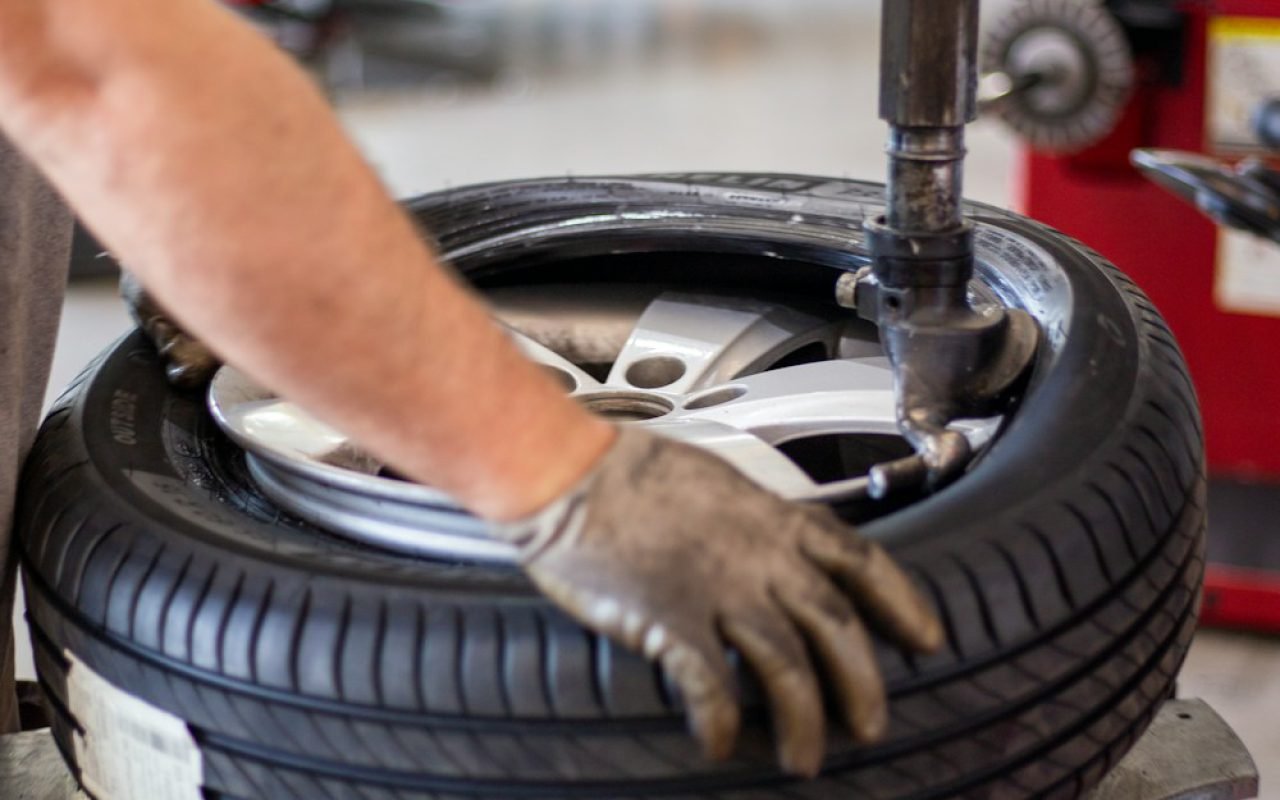

Our first flat happened on a gravel road with no signal. We had a spare and no idea how to use it. It was late afternoon somewhere in eastern Oregon, the nearest town was forty miles behind us, and the only sound was the wind moving through the sagebrush. We stood next to the sagging tire for a long minute, looking at each other, both secretly hoping the other one knew what to do.
An hour, a manual and a lot of patience later, we figured it out. Here’s what we learned, written for anyone who has never changed a tire and would rather not learn the way we did.
Safety first
Pull far off the road, hazards on, parking brake on, wheel wedges behind the tires. Before you touch a single lug nut, make sure you and your car are as safe as possible. A flat tire is an inconvenience. Getting hit by a passing car is a disaster.


When you first notice a flat, slow down gradually and avoid slamming on the brakes. Look for a wide, flat, firm shoulder or, even better, a parking lot or side road. Driving a short distance on a flat to reach a safe spot is better than stopping on a narrow shoulder or a curve, even if it damages the tire. Once you stop:
- Turn on your hazard lights and set the parking brake.
- Put the car in park, or in first gear if it is a manual.
- Have everyone get out and wait well away from traffic.
- Place wheel wedges, or a couple of big rocks in a pinch, against the tire diagonally opposite the flat.
- If you have reflective triangles or flares, set them up behind the car.
If you are on a busy highway, at night or in a spot that does not feel safe, it is completely fine to stay in the car with your seatbelt on and call for roadside help instead. Knowing how to change a tire does not mean you always have to.

Learn it in your driveway, not on the side of the highway.
Sam, contributing writer
Find your tools
This sounds obvious, but it was our biggest delay. We spent fifteen minutes just finding the jack. In many cars, the spare, jack and lug wrench are hidden under the floor of the trunk. In some trucks and vans, the spare hangs underneath the vehicle and is lowered with a crank. Your owner’s manual will tell you exactly where everything lives.
Take everything out and lay it near the flat tire. You should have the spare, the jack, the lug wrench and possibly a small tool that removes a wheel cover or a locking lug nut. Now is also the moment to check the manual for the correct jacking point on your car, which is usually a reinforced spot on the frame just behind the front wheel or just in front of the rear one.
Loosen, lift, swap
Loosen the lug nuts before you jack up the car. Tighten in a star pattern after. That one sentence covers the heart of the job, but here is every step in order:
- Remove the hubcap or wheel cover if there is one, so you can reach the lug nuts.
- Loosen the lug nuts about half a turn each, turning counterclockwise, while the tire is still on the ground. They may be tight, so it is fine to use your foot on the wrench carefully for extra force.
- Position the jack at the correct jacking point and raise it until it touches the car.
- Lift the car until the flat tire is about six inches off the ground. Never put any part of your body under the car while it is on the jack.
- Remove the lug nuts completely and keep them together somewhere they will not roll away. A hat or a cup holder works well.
- Pull off the flat tire and lay it flat on the ground, so it cannot roll.
- Mount the spare by lining up the holes with the wheel studs and pushing it all the way on.
- Hand-tighten the lug nuts as far as you can.
- Lower the car until the spare touches the ground but does not hold the full weight.
- Tighten the lug nuts in a star pattern, going across the wheel rather than around it, so the wheel sits evenly.
- Lower the car fully, remove the jack and give each lug nut one final firm tightening.
Our big mistake that day was trying to loosen the lug nuts after the car was already in the air. The wheel just spun. We had to lower the car, loosen them and start over. Learn from us and save yourself ten minutes of frustration.
After the swap
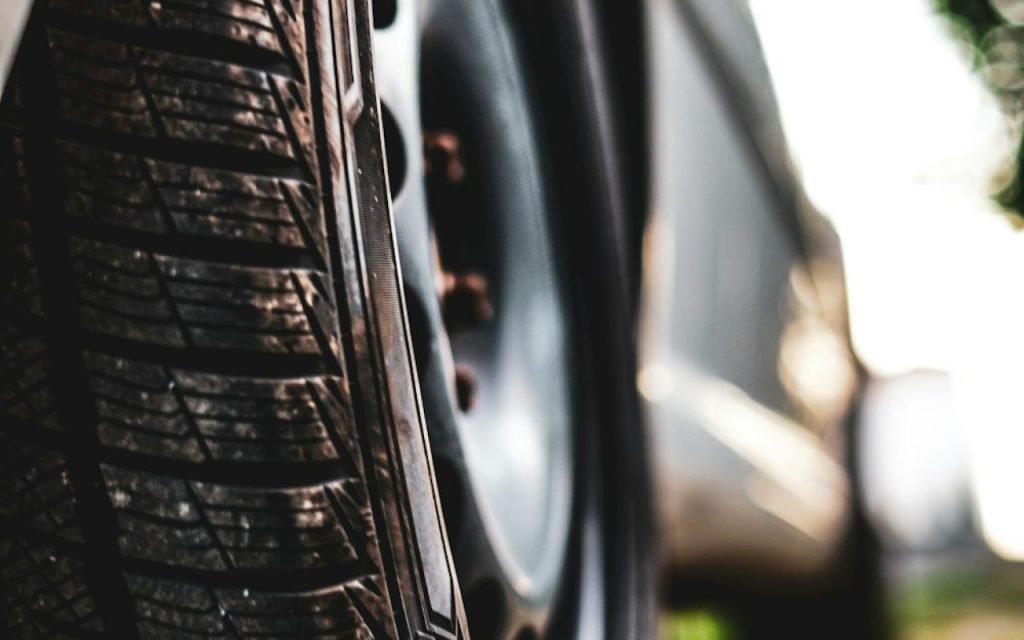
Put the flat tire, the jack and all your tools back in the car. Do not leave anything on the side of the road. Then check the spare’s pressure as soon as you can. Ours, it turned out, was low, because nobody had looked at it in years.
Many cars come with a compact temporary spare, sometimes called a donut. These are meant to get you to a tire shop, not to finish your road trip. They usually have a lower speed limit and a limited distance, often printed right on the tire itself. Drive gently, avoid the highway if you can and head to a repair shop as soon as possible. Also recheck the lug nuts after the first few miles, as they can settle.
Key takeaway: Loosen before lifting, never get under a jacked car and treat a compact spare as a short-term fix only.
Keep in the car
After our gravel-road adventure, we put together a small flat-tire kit that lives in the van permanently:
- Spare tire (check the pressure!)
- Jack and lug wrench
- Wheel wedges
- Gloves and a headlamp
We also added a small tire pressure gauge, a foam kneeling pad and a printed copy of the tire-change page from our manual. Gloves keep your hands clean and protected from hot or sharp parts. The headlamp is a lifesaver if a flat happens after dark, because you will need both hands for the work.
Practice once, at home
The single best thing you can do is practice changing a tire in your own driveway on a nice afternoon. No traffic, no pressure, no fading light. Find the tools, read the manual, loosen the nuts, jack up the car, swap the tire and put everything back. It might take you an hour the first time. The second time it will take twenty minutes.
When the day comes that you really need it, you will be calm, confident and back on the road quickly. We wish we had done that before heading out onto that gravel road in Oregon. But we learned, and now you can learn the easy way.
Basic guidance only. Your owner’s manual has the right steps for your car.







Sharing this with my friends.
Saved this one for later. Really useful.